


For today’s post, we’re going to discuss a fairly simple aspect of photography – aperture – and how you can help define the look and feel of your images by successfully using it to get the photos you want.
For all intents and purposes, in most ways this is really a photography 101 topic that is often discussed in the context of the exposure triangle. When manually exposing your images, being able to dial in the right aperture, shutter speed, and ISO settings is key to nailing the right shot. But, how you configure these settings may be dependent on the look you are going for.
What is aperture?
Put simply, the word aperture means “an opening.”
It’s not the most exciting definition by any standard, but in practical terms in the context of photography, explains well what we are dealing with. When you press the shutter release button on your camera, a hole opens up that allows your camera’s image sensor to capture data from the scene you want to photograph. You can observe this by looking into your lens while taking a shot. The size of this hole is dictated by the aperture setting, which is measured in f-stops. The larger the hole (and smaller the f/stop), the more light gets in. The smaller the hole, the less light gets in.
In order to master the art of photography and take great photos yourself, it is essential that you drill into your mind the difference between smaller and larger apertures, and how to easily find the one you want on your camera. While experimentation is absolutely necessary to this process, even for seasoned professionals, an excellent starting point is thinking about how much light you want to let in to your camera sensor (and thus: lightening the image exposure in camera) AND what kind of depth of field you are looking to have (or not have) in your image.
How depth of field impacts your image
Depth of field is a measurement of how much of an image is in focus.
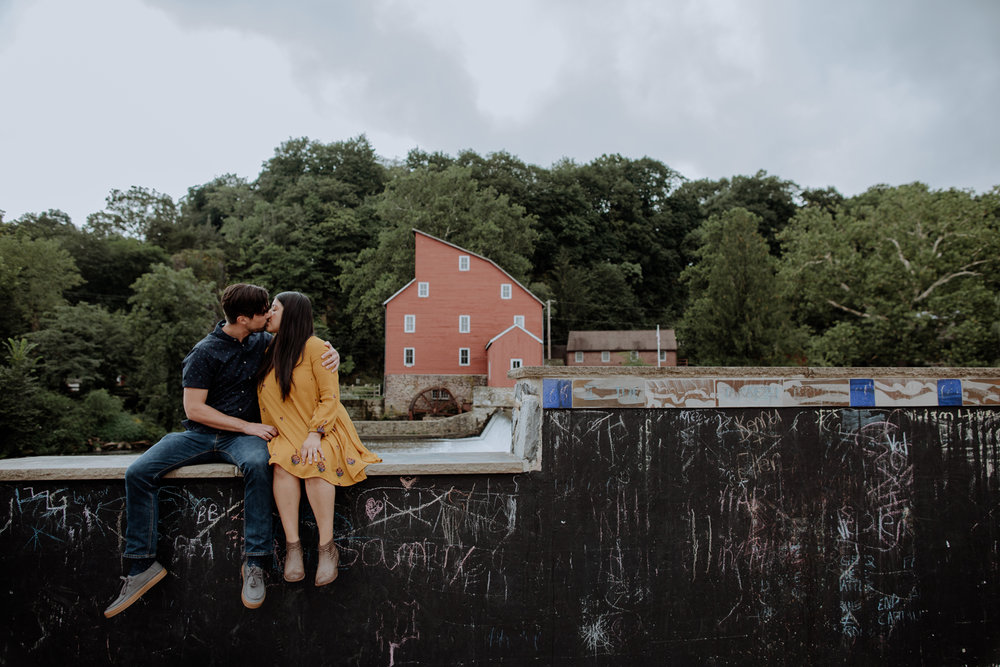
A large depth of field is utilized to keep the entire scene in focus. This is often desired in landscape photography (in particular). When shooting rolling hills and wanting everything in the scene crisp and clear. This is achieved in camera by choosing higher f/stop numbers like f/16 or f/22.
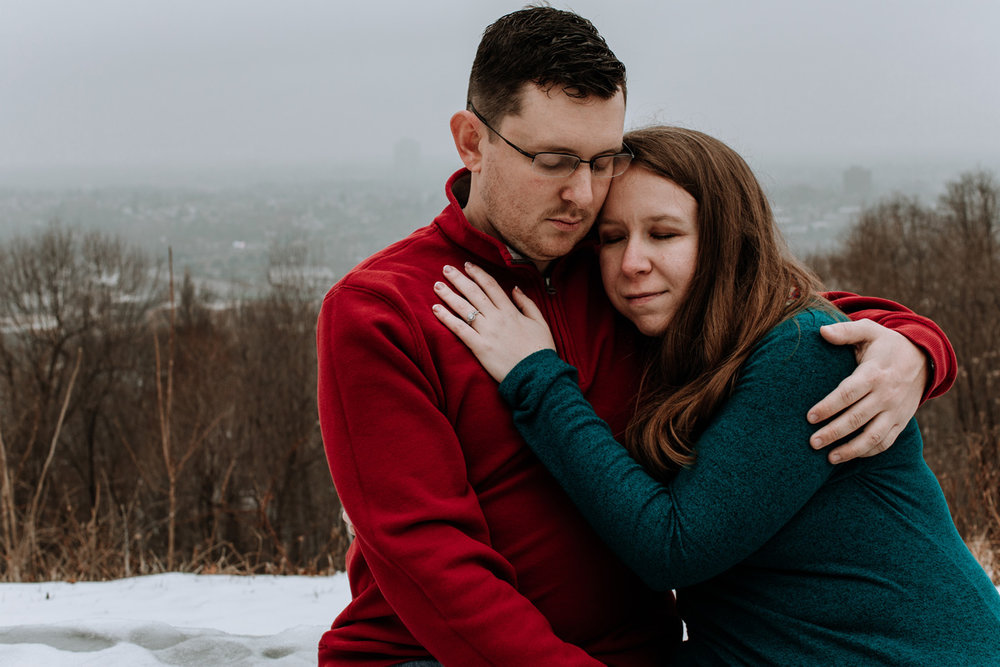
Alternatively, a small (or shallow) depth of field is used to create separation between your subject and the background. This is most commonly seen in portrait photography, due to the effect that it gives that allows a person to standout from their environment. In order to get this look you simply should use lower f/stop numbers. Most standard camera lenses have small f/stops beginning at around f/2.8 – f/4. Professional level camera lenses often will enable lower f-numbers to be utilized, going down as far as f/1 or f/1.2.
a case for some softness & the bokeh effect
Now that we’ve covered the basics of aperture – it’s time to think a little bit more about how we can apply it to our own images.
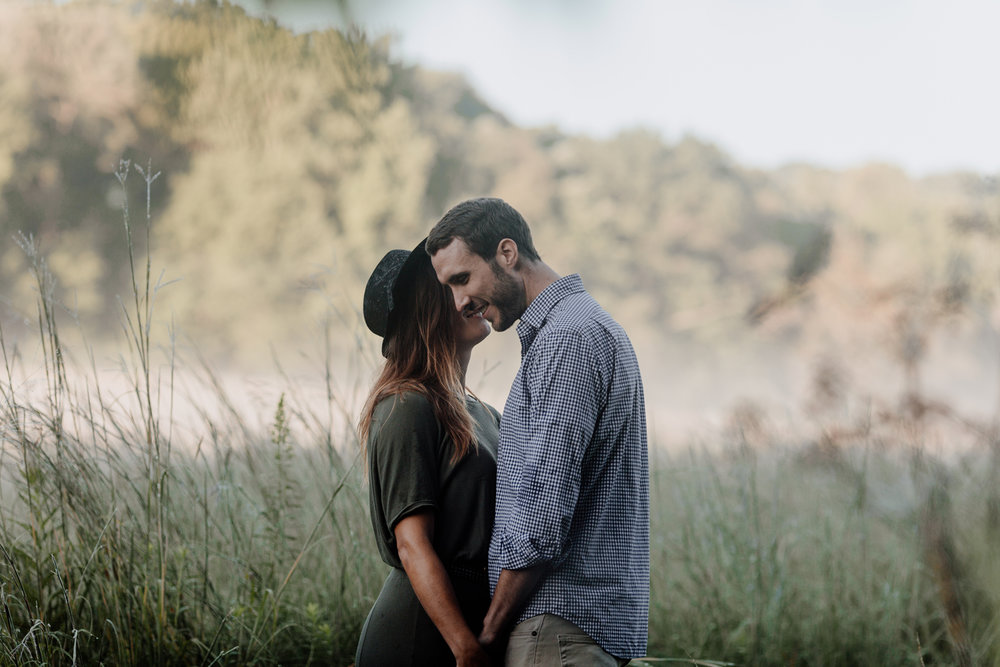
In many of our portrait images, we have a substantial addiction to using a shallow depth of field to create a dreamy mood, and to create separation between the people we are photographing and the environment they are in. Due to the nature of lower f-stop photography, we have found that often these images are a little softer than images shot at a larger depth of field.
We’ve previously compared images from the same session shot between f/2.8 and f/4, and the result was jarring to see. In the f/2.8 image, the background is substantially more blurred out, but not all features of the couples faces were tack sharp. Alternatively, in a comparable image shot at f/4, the entire couple was in focus with some background blur (though not nearly as substantial to notice). In choosing your aperture, consider the tone you are looking to set in your image. If softness is something you can live with, or would even prefer for your photography style, than lower f-stops will suit you well! However, if tack sharp is all you want, to keep things much better in focus – a higher f-number will be preferable. For us, a mixture of these works well to help tell stories. A little softness can be okay, so don’t think it makes a photo less desirable just because of this!!
Related: The Exposure Triangle: Master ISO, Shutter Speed, and Aperture for Great Photography
And the reason for this, and why it’s easy for us to accept some softness in our images, is because of the bokeh effect.
Bokeh is the resulting look of the background of images taken with a shallow depth of field when it appears blurred. In certain scenarios, usually dependent on the light and environment, the result can include seriously vivid orbs of color and light that can make an image look like it was painted. This is especially true for images taken like this during a beautiful golden hour sunset.
If you ever hear a photographer get excited to shoot golden hour portraits, this is one reason why!!
How to use aperture to define your photography style
Now that we have the basics of aperture out of the way, it’s time to think about how you can use changes in aperture to define your photography style. As a note, deciding how to use aperture will not make your photography unique, but it will help you lay the foundation for the look of your photography in general.
As we’ve already mentioned, we tend to use a blend of both small and large aperture photography depending on the specific scenario. With that said, generally we opt to use smaller f-stops when shooting portraits (usually anywhere from f/1.2 – f/4). This is a pretty large range in and of itself, and allows for some flexibility depending on the light and what we are aiming to have in focus vs. out of focus in our images. One thing we have learned is that, when our subject is close to their background – so say close to a treeline shortly behind them – creating separation is essential for our photography style. Lower f-stops helps to achieve this greater separation. Most frequently for us, higher f-stops are used when capturing environments.
How you decide to use aperture in your own photography is up to you. You could very well shoot portraits at higher f-stops intentionally, with the focus being on less background blur, and more of the individual(s) and larger scene in focus.
Hopefully this discussion of aperture has been helpful for you! Let us know in the comments below if you have any questions!!
Need some lens recommendations? Check out The First Canon Lenses You Should Buy for Wedding Photography and 5 Must-Have Lenses for Iceland Landscape Photography


