Styled shoots are a huge part of running a wedding photography business. As photographers, they can be a lot of fun, and when you have an active role in defining the style and theme of the shoot – it can be an impressive outlet for artistic expression for portrait photographers.
While every photography session and wedding we photograph requires our personal artistic input, styled shoots are especially unique because we get to pull our sense of design and fashion. Styled shoots can be as simple or complex as you want, and can even allow for experimentation with different techniques that you might not want to try during those stressful wedding day moments.
Up to this point, we have participated in a few styled shoots put on by other photographers and wedding vendors. Some of our favorite images have come from these shoots, mostly because they are designed from the ground up to convey a sense of fantasy. With handpicked dresses and other wedding attire, custom made jewelry, pre-selected locations that are to die for, etc. – it’s easy to fall in love with photographing in times like this. Our love for styled shoots and portfolio building materials in general even took us across the country to Oregon, where we participated in a few shoots during the Lindsey Fronk Photographer Retreat.
The images we have created in these environments have been beautiful – but we were further inspired to assemble our own styled shoot, built from the ground up, so we could have total creative control.
In this article, we will be discussing ways in which you can put together an easy styled shoot; and throwing out some of our thoughts for how you can make things easier and better along the way.
Styled shoots – an artistic testing ground
We have many reasons for liking styled shoots.
We’ve already noted a few in the intro to this article, but let’s elaborate a bit more, shall we?
As a relatively new wedding photography business, one of the lures of styled shoots is that they can be used to build your portfolio. While practical wedding day photography experience is essential when selling your skills as a “wedding photographer,” having gorgeous photos in your portfolio is (hopefully obviously) another core element to constructing your brand and selling your photography service.
More than just having new material for your portfolio, blogs, social media, marketing materials…styled shoots provide the perfect opportunity to flex your artistic brain and create pictures that mean something to you intimately.
While there is no right or wrong way to set up a styled shoot, an essential starting point is thinking over what you want the theme of the shoot to be.
theme
Picking the theme for your styled shoot can be a lot of fun. You might already have some ideas bubbling around in your head already. The theme you decide to go with can be as broad or narrow in focus as you’d like.
Simple themes could be things like “woodsy” or “urban.” Those two terms begin to narrow down, at least, the locations you’d probably want to use.
You can, of course, choose more complex and niche themes too!
Many people also pull on TV and movies too, so if you have the desire to have a Game of Thrones inspired shoot, go for it!!
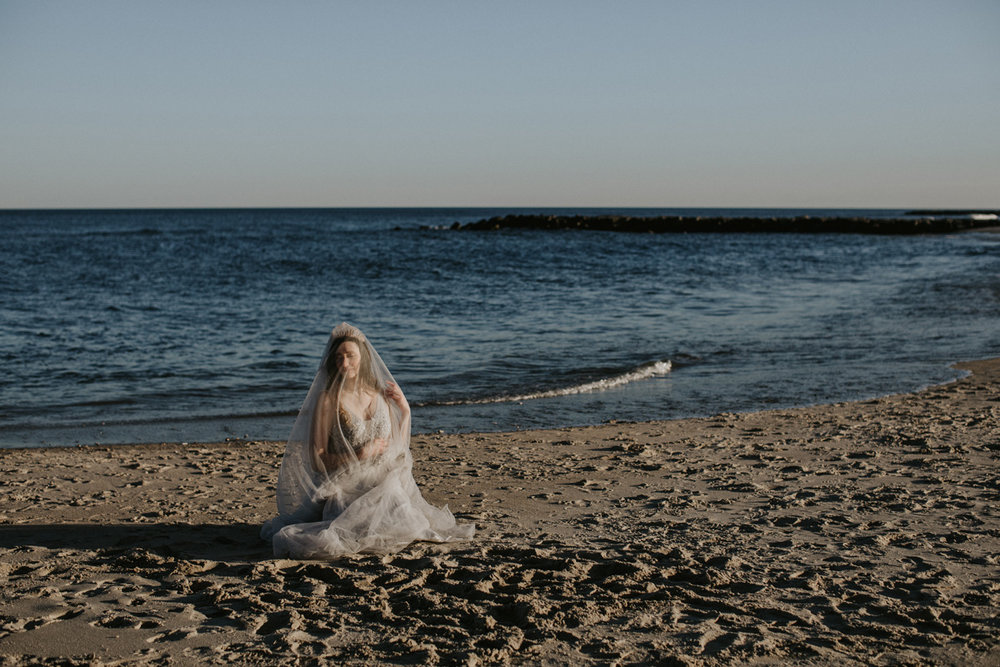
As we reflect on our first styled shoots at Columcille Megalith Park and at Asbury Park, our intention has always been to keep things simple and let our models and backdrops do a lot of the talking. You can click the respective links above to take a peak for yourself!!
LOCATION
One of the next crucial elements that go into planning a styled shoot will be finding the right venue for it. There is potential in many places, and this may even give you a chance to go somewhere you haven’t been before.

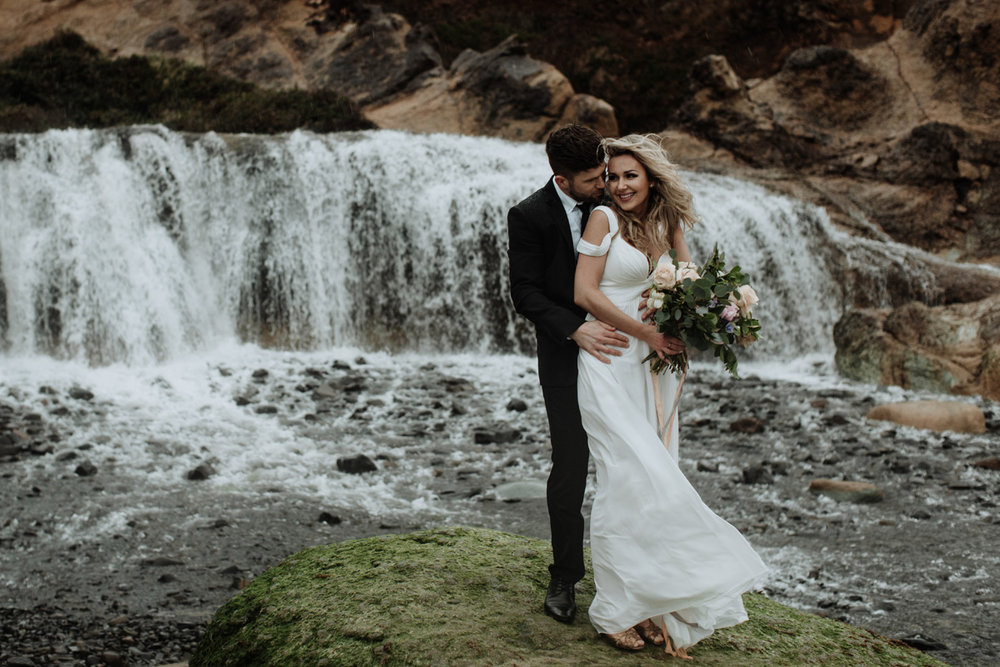
Early on, Jes participated in a styled shoot at Fox & Finch Studio in Bethlehem, PA – which is a gorgeous indoor location for photography due to the space, backdrops, and natural light access. This venue suited very well the more eloquent wedding day vibe being styled for. Separately, we both traveled to Oregon and participated in a styled shoot at Cannon Beach – an entirely different, but gorgeous location suitable for stylizing an adventure elopement!
For ourselves, when we host our own styled shoots, one of our big lures is to get out into nature and take advantage of natural sunlight as much as possible. Our recent styled shoot at Asbury Park is a great example of this – as a beach backdrop jived well with the theme we set out for, a sort of ethereal/boho vibe.
Accessories
While not always necessary, especially if you want to keep your own styled shoot very minimalist, accessories can help solidify the story of your styled shoot. Accessories come in all shapes and sizes.
You may consider collaborating with a jeweler, or shop around for the perfect budget dress for your model to wear. You might take inspiration from images you see on Pinterest to compliment your scene. Some elements at play might directly impact the look of your images – like bringing along candles for use during golden hour to add some moodiness, or bringing along copper piping to catch the sun for the “ring of fire” effect.
As you can see – accessories can be used to dress up your scene, or just impact the photos you are taking directly. This is real space for you to put on your artistic mind and explore!!
MODELS
When you begin planning you’re styled shoot, you may (or may not) have somebody in mind to be your muse for the day.
Depending on the shoot, the type of person you are looking for may be very specific – such as having certain physical attributes – while other shoots might be more flexible. The nature of your shoot might also call for a professional model, while another shoot might prefer an average, every day couple to fill in. What you decide to do is entirely up to you. Whatever you do, though, it is important to get this person(s) on board early in the planning process.
If you’re not sure where to start for finding someone to model for you, try putting out a model call in some local photography groups on Facebook, and posting the same on Instagram and using hashtags people might be searching for this sort of experience. If you have your own business, you might consider offering a free portrait or couples session to lure people in.
OTHER VENDORS

The decision to include other industry vendors into your styled shoot is up to you, but we will say that there is inherently value in building trust and relationships with other vendors in this way.
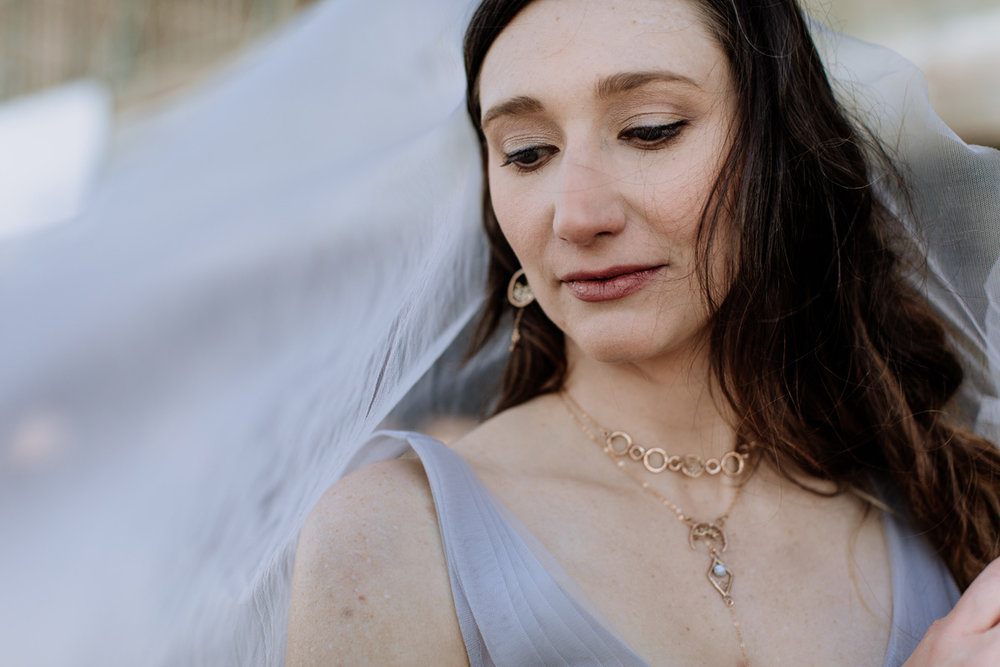
Our experience with our Asbury Park styled shoot incorporated the hair/makeup styling of Parlor Hair & Makeup Studio and custom jewelry created by L2 Creations. We wanted to keep our shoot simple and laid back, but add some elements that are outside of our area of expertise. We might be good photographers, but that doesn’t mean you’d want us to style your hair or figure out how to make jewelry for you!! These other vendors can offer a lot of value, and help enrich your images in ways you might not have even thought of on your own.
Of course, since it is your styled shoot, it is not a mandatory thing. You do you.
TIME OF DAY
The last major thing we will touch on about setting up a styled shoot is to highly consider the time of day you are planning to shoot during. This may be influenced by your style of photography (light & airy? dark & moody?), as well as the theme of your styled shoot, too. In general, photographers prefer working during the Golden Hour sunlight, where natural light is often at it’s prettiest – as well as easiest to capture flattering images of their subjects. That’s not to say other times of day are bad, though, but it is something you will want to keep in mind when scheduling the shoot itself.
creating a mood board in adobe ILLUSTRATOR
Now that we have discussed some of the basic considerations that go into putting together your own styled shoots, we’d like to discuss one way of laying out all of your ideas “on the table.” Heavily influenced by Jes’ background in graphic design, creating a mood board in Adobe Illustrator is a great way to visualize your ideas. While we are using Illustrator in this example, the basic idea is simple enough that you can produce something similar in many other computer programs (such as Photoshop), or even by printing out images and putting them together on a piece of paper or on a cork board.
While our example mood board basically speaks for itself, some helpful tips for creating yours:
visualize your shoot in your head first
Picture the general look and atmosphere of your styled shoot in your head. Go ahead, we’ll give you a second. You should be able to sort of see some of the basics – what are the colors on display? What type of props do you want to incorporate? Where are you located?
Sorting out these elements before beginning to create your mood board will make it easier to start pulling inspirational images to populate it.
browse pinterest and other places online
Pinterest and other places around the internet are great for finding inspiration for styled shoots. Further, you can pull images directly from these websites to put into your own private styled shoot mood board. It’s not like you are planning to use this board for some commercial purpose – just to help yourself visualize the shoot. Many of the images we found were stock images taken from Pinterest and other sites.
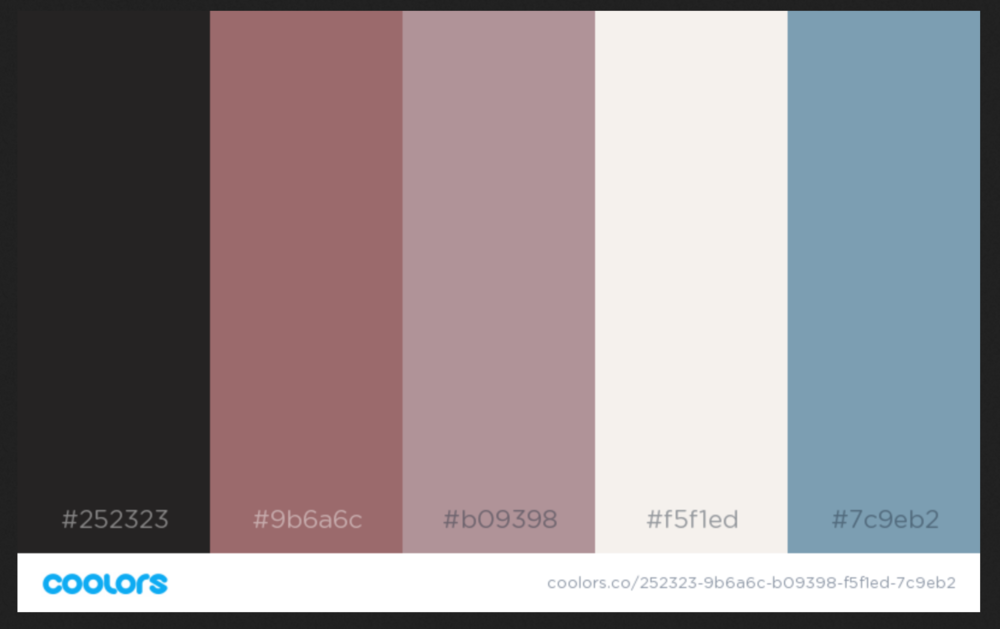
Use Coolers.co for generating color schemes

A great little tool (that is also free!!) is Coolers.
While you can design your own color schemes yourself within a program like Illustrator or Photoshop – and it may be easier for you if you have a background in art/design – for many without this background or inherent ability to visualize a lot of different colors working together, an online and mobile app like this makes it extremely easy to find unique and beautiful color schemes for your styled shoot.
Why is finding a color scheme important? The colors of your styled shoot do a lot to define the vibe and look of your shoot. It impacts your choice of environment(s), clothing your model(s) wear, the color of accessories, etc. Of course, you won’t be able to control everything, but having a solid artistic sense going into your styled shoot will help the resulting images be that much more beautiful.
put your sample images + Color scheme into illustrator
Arrange the example photos and mood board(s) in Adobe Illustrator. You do not need to do anything complex or fancy, just arrange in a way that is logical and allows you to see each component visually – together. With this initial setup, you can better see how your styled shoot will end up looking. Of course, it may be a little idealized as you may not have the perfect lighting (as an example) on the day of your shoot – but it is something to aspire too. By laying things out in a mood board like this, you can also identify areas of weakness or areas where you would like to add elements.
For example, returning to our Absury Park styled shoot idea, we initially laid out a sample image of a quartz crystal crown we purchased off of Amazon – but after getting it in the mail, decided to return it and purchase a slightly more expensive and better quality one. After updating to the new crown image, we identified the colors on display matched more with our color scheme and it had a more natural look, coinciding with our overall theme desire and it complimented the beach background.
Creating your own styled shoot is easy and fun
Putting together a simple styled shoot is not particularly difficult. Certainly, the more vendors and people you involve in the process, the more complex they can become. Not to mention, they can become really elaborate and require a lot more time and space (and money) to pull off. These can certainly be worth it, but as a newbie to putting together styled shoots, we like to think that less is more. This is often true in many regards in the world of photography, anyways!!
We hope that our guide for putting together your own easy styled shoot will come in handy for you. We’d love to hear about your shoot plans, so feel free to tell us about your ideas in the comments below!!
