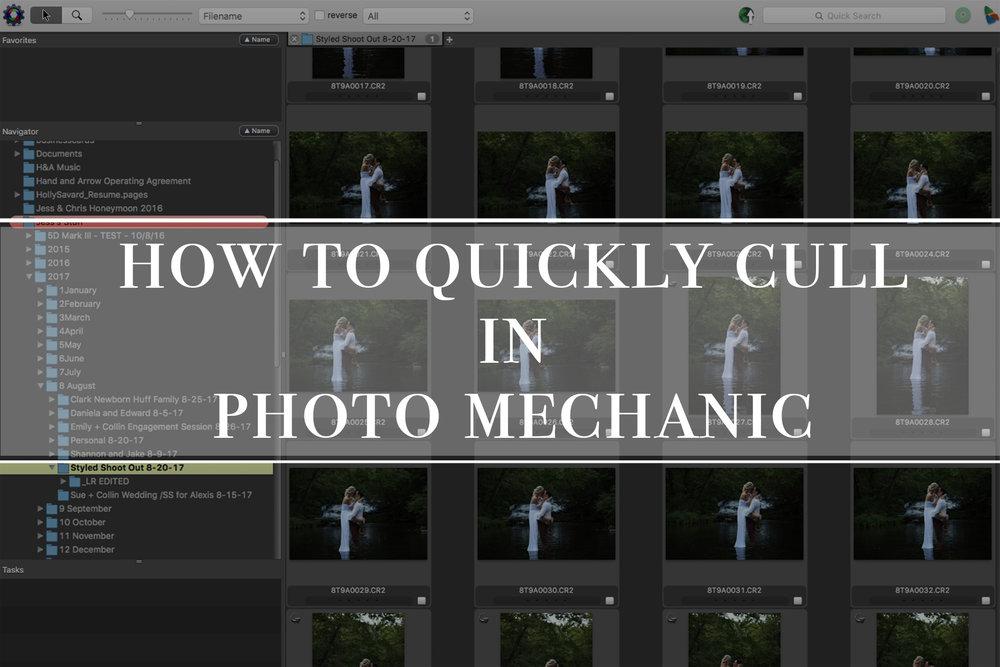
While we love taking photos, one of the things we have really started to not care for is culling through thousands of them just to find the ones we want to keep. In an average wedding, between the two of us, it is entirely possible that we will shoot 3,000+ photos.
During our first year operating our business, the art of culling through and selecting the best photos, to then be processed in Lightroom & Photoshop was done in the most tedious way possible – manually through the built in Finder on Mac OS. While for just a few small sessions, or even a wedding or two, this isn’t necessarily an issue – when working through many, many shoots and working within a fairly tight turnaround time – anywhere that we can save time and mental energy is worth looking into making investments. An average wedding cull could easily set us back around 4 hours – not really the best use of time at all!
Since we experienced this pain first hand, we were floored when we first decided to try out Photo Mechanic. We had heard the name float around in some Facebook photography groups we have joined, but never really looked into it until recently. Using the free 30 day trial, it became pretty apparent that Photo Mechanic would be our photography culling tool for the future.
The reasons for this are simple enough – Photo Mechanic offers a fast culling solution that enables us to work our way through a set of photos, tag the ones we want to keep, and delete out the ones we don’t (directly from the hard drive – making space on our external HD’s). Honestly, it is one of the more niche pieces of software you will come across, but if you are a wedding photographer faced with having to scrub through thousands of photos per session – maybe 10’s of thousands of photos a month – a software like this may just be worth the time and money to invest in.
Now, how do you use Photo Mechanic to cull quickly?
If you’re looking for a more detailed review of Photo Mechanic, in terms of some of its functionality and more about what it offers, click HERE.
For those just curious about how we use it to cull weddings, your in the right place!
The answer to this is quite simple, and we will lay it out in just a few steps.

- Remove your photos from the SD card and categorize as you would normally on your hard drive
- Open Photo Mechanic
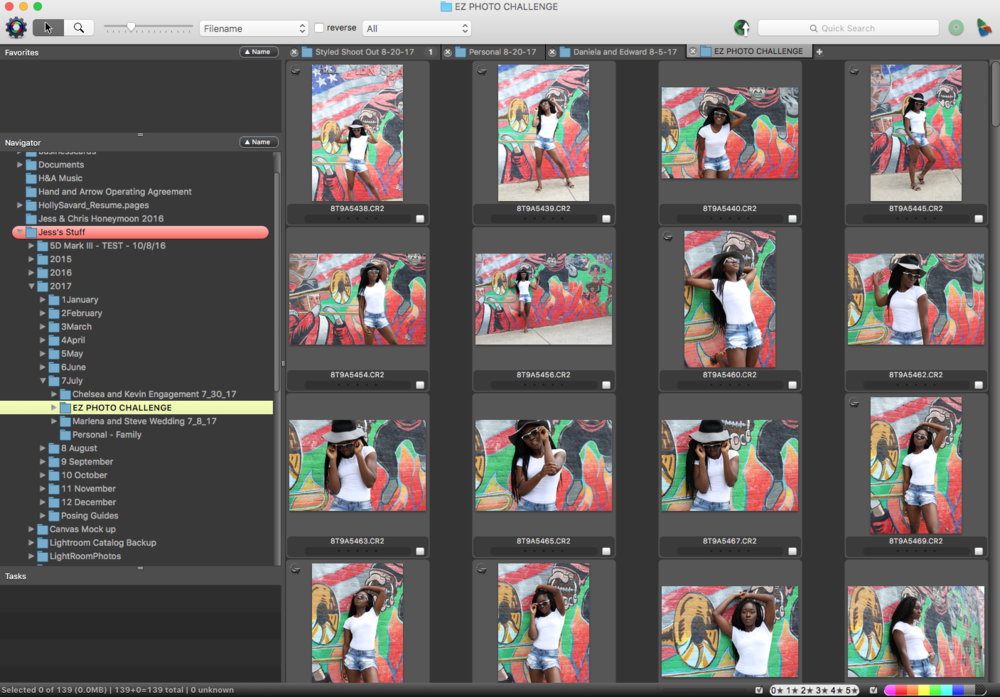
- In Photo Mechanic, find the corresponding folder where you put the images you are looking to cull – double click
- You are now viewing the images in Photo Mechanic, we suggest double clicking the first one to open a larger view so you’re not just culling small thumbnails.
- Using the up-or-down arrows on your keyboard, you can scroll through your images with lightning speed.
- Using the #5 key on your keyboard, you can mark images green that you want to keep. We do not waste time by marking with different colors or star ratings as some people might. Our preferred method is quickly selecting just the images we want to keep.
- Once through the set, you can select to only display images tagged as green.
- You may want to consider taking a quick second cull to make sure there are no images you are missing that you would prefer to have on hand.
- You can then drag all tagged images (the keepers) into Lightroom for more detailed editing.
- After you have finished the shoot and provided images to your client, you can return to the folder in Photo Mechanic and delete all unused images.
We will note, some photographers opt to store ALL of their images from a wedding on an external hard drive, and this is absolutely fine if you are hesitant about deleting anything. However, we operate with the knowledge that anything we have not marked to be kept, should not be kept at all because it is not something we would want to give to clients (duplicate shots, blurry images, etc.). It’s pretty simple logic for us to follow, and removing them from our HD’s frees up a lot of space for future storage, which is important for us. But…of course…do your own thing!!
Hopefully this look at how we cull in Photo Mechanic will help you!
Photo Mechanic is really a great help when it comes to speeding up our workflow. A once painful part of the whole wedding photography process is now quick and easy for us, and lets us get on to editing photos much faster than before.
Want support growing a photography business?
Shoot and Thrive’s Photography Business Academy is a significant resource that we had a role in creating (along with some other photographers) and includes a comprehensive course library, VIP community, and additional levels of support from our team to help you create the business of your dreams – whether you’re a complete beginner or experienced and needing help growing.
In The Photography Business Academy, you will learn in great detail all aspects of business including branding, marketing, sales, client experience, systematization of it all – and be provided with resources (the full academy includes over 200+ worksheets, email templates, and other supporting resources to make your life easier). The end goal is to not just provide you information, but tools to actually transform your business (and your life).