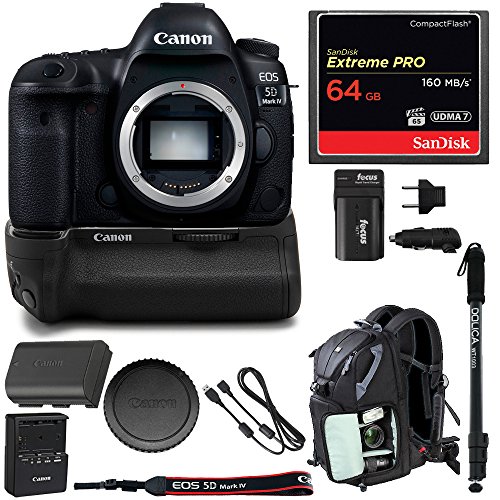
If you are a wedding photographer working with the Canon 5D Mark IV, it’s likely that you are wanting to know what the “ideal” settings are while shooting throughout the wedding day. While in a lot of ways, this is a topic that is difficult to pin down, given how many factors go into the selection of your settings at any given moment dependent on a number of factors – we thought it could prove useful to showcase common settings we use at different major parts of the wedding day. Not only telling you the settings, but explaining in some detail why these settings are selected in particular.
We hope this proves useful for you. If you have any questions, feel free to leave a comment at the end of this post.
Need help getting found through search engines? Our marketing business Shoot and Thrive can help you with SEO and blogging help to get more traffic, inquiries and bookings!
FIRST THOUGHTS
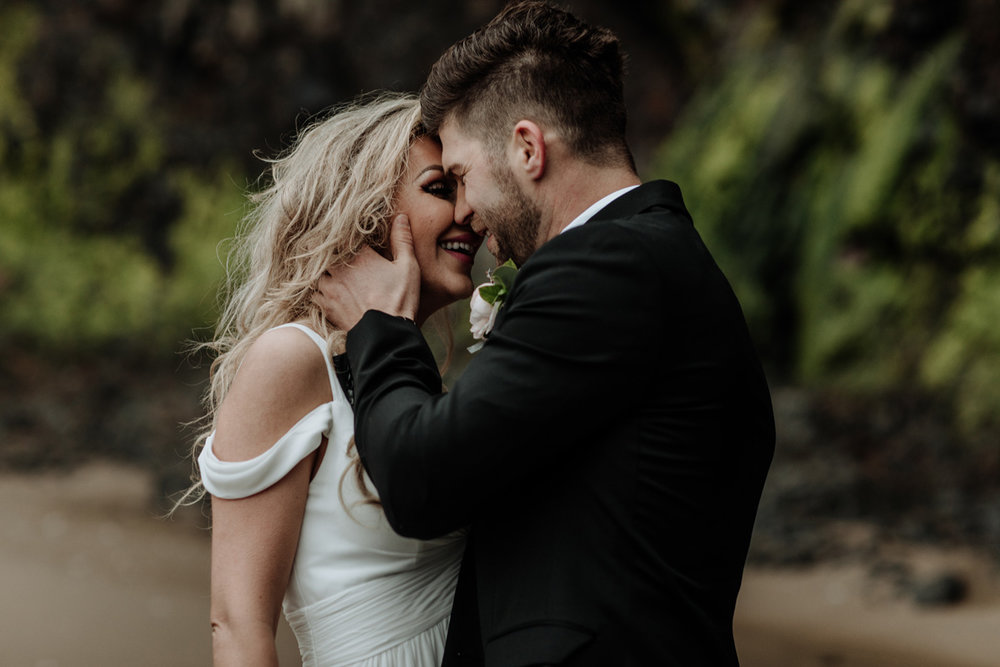
Before we get into specifics of our settings, we want to set the stage for what is expected during a wedding day.
Whether you are preparing for your first wedding, or you have been a photographer in this industry for a while, it is important to keep in mind how heavily wedding days can vary one from the next.
This comes in the form of some obvious things – different wedding venues, different vendors, unique personalities…and maybe other things you haven’t quite considered the full ramifications of like weather, cloud coverage (if outdoors), poorly lit indoor locations needing flash (if it’s even allowed!).
Having been in the wedding photography industry for 3 years now, our experience has been positive and filled with learning experiences. Learning how to accommodate and work with various restrictions, and learning how to shape light to our benefit, even in the worst lit environments – is a core element of being a successful photographer.
These technical skills paired with an artistic eye and ability to get the needed shots, all while being friendly and personable to the client(s) and wedding guests are just some of the thing that will define your photography brand. While certain things are learned best on the spot as you experience them, the technical side of photography is something that can perpetually be worked on and refined, even from the leisure of your own home.
With this last sentence in mind, you can begin to practice for the wedding day by learning some basic settings for your Canon 5D Mark IV camera, and begin to mentally prepare to put your knowledge to the test during the wedding day itself you will be shooting soon.
THE SAMPLE WEDDING TIMELINE
The easiest way to approach showcasing some of our Canon 5D Mark IV camera settings for the wedding day is to lay out the “ideal” wedding day timeline as we see it. As we mentioned earlier, every wedding day is different – and as a result you may need to adapt certain settings or techniques to meet your specific needs, but what is provided here should give you a good starting point regardless.
An ideal full day of coverage will look like this:
-
Getting ready photos at parent’s house/hotel/or venue bridal suite
-
Detail photos of rings, special personal items, decor, etc.
-
Candid photos of bride/groom and their parents/bridal parties
-
First Look photos at a pre-selected indoor or outdoor location (if available)
-
Ceremony photos at church/outdoor location/or indoor rain location
-
Family Formal photos
-
Bridal Party photos
-
Bride + Groom Portrait photos
-
Reception photos (candids and special events like cake cutting, garter, bouquet toss, etc.)
-
Grand Exit photos (sparklers, lanterns, fireworks, etc.)
Over on Formed From Light, our blog for photographers, we wrote a detailed piece about putting together a timeline you may want to check out!
QUICK NOTE: USE NATURAL LIGHT WHEN AVAILABLE
Before we dive into our settings for each of the wedding day events, we wanted to place special emphasis on something significant to our approach to photography (and that of many others, too!).
When it is available, natural light is the best light to utilize.
We use flash often and frequently throughout the wedding day, but it is never the preferred source of light because of how it looks in an image.
This “look” is something that can be minimized by having a good flash set up (we recommend the Profoto A1 and Profoto B1 for on and off camera flashes) that gives off a natural appearing light when paired with diffusers. However, natural light is ideal – especially so when shooting outdoors under cloudy (“softbox”) skies and during Golden Hour where the light paints the portraits with a lot of added color and drama.
Related: The First Canon Lenses You Should Buy for Wedding Photography
Getting ready – photography settings
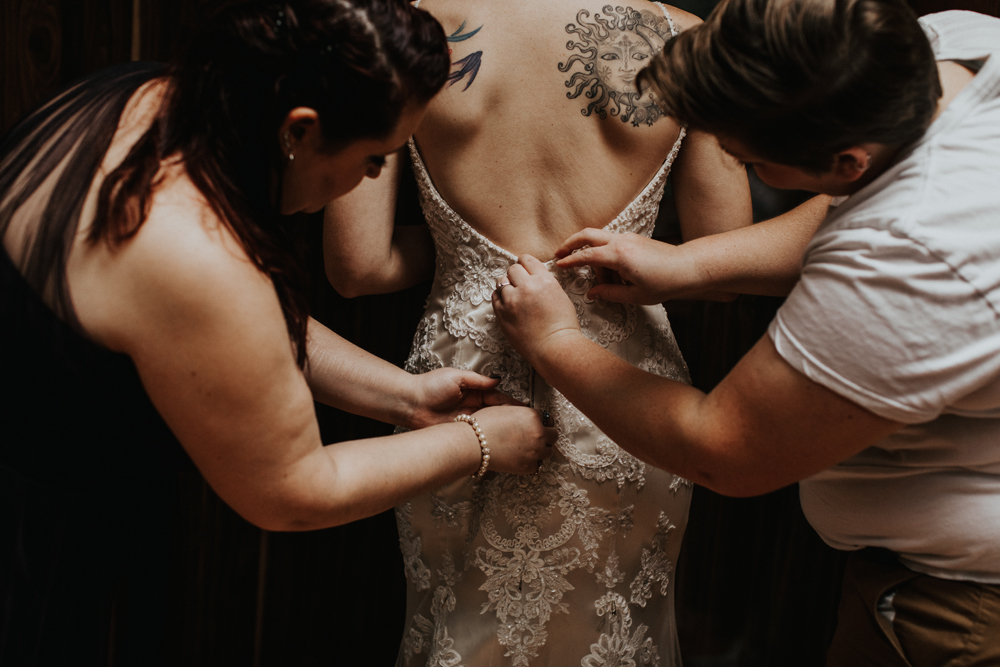
In order to determine the best settings to dial in on your Canon 5D Mark IV camera, you should begin by examining what the getting ready location(s) you are photographing in will be like. We have faced many scenarios ourselves…from tight hotel rooms, bridal suites at venues, spare rooms in churches, parent’s houses, and even occasions where some of the preparations with the bride, bridal party, and family will take place outdoors.
Given all the variety in locations, settings will also change significantly. Most frequently, though, we find that getting ready locations for the average wedding we shoot have a tendency to be fairly small, often cluttered, and filled with a lot of action that needs to be captured effectively. With this in mind, here are some suggested settings for you to start with, and a brief explanation for why:
ISO: 200 – 600
Aperture: f/2.8 – f/4.0
Shutter Speed: 200 – 600
Your ISO selection is entirely dependent on factors such as the available light, and how low you can bring your aperture f-stop to let light in (this is dependent on your lens). When shooting indoors, even if natural light is available through the windows, there will be areas that you may need to photograph that are more in the darker and shadowed areas of a room. When shooting candids, it is necessary to adapt to this. When good light is available, especially when shooting more critical parts of the Getting Ready portion of the day (like when the bride gets into her dress), simply having her move into the good light will help you to bring your ISO back down (reducing grain) and allow you to produce better quality photos.
Your aperture choice is somewhat contingent on your style of photography. We often prefer the compressed/blurred out background look associated with shooting at lower f-stops. In truth, with some of our lenses we will shoot, at times, even as low as f/1.2. Your average non-prime lens, however, will not stop this low – so f/2.8 is a reasonable starting point to work with. At times, when we want to capture multiple people or things with clarity that may not be in the same viewing plane, we will bump our f-stop up to 4.0 (or higher if necessary). This is usually for select images, as moving the f-stop up also requires compensation through ISO bumping, flash usage, or decreasing shutter speed.
Finally, your shutter speed will be dictated heavily by the amount of movement you and your subject(s) are doing in the scene. If you are just shooting the hairstylist doing your brides hair, you will not need a high shutter speed. But, if you want to capture a quick moment where the mother-of-the-bride runs up to give the bride a hug, you will want to be able to up the shutter speed quickly to capture this. As we said earlier, the Getting Ready part of the day involves a lot of moving pieces, and often times things that are unexpected, too!
It’s also worth noting that, if the environment you are shooting is doesn’t have “the perfect light” everywhere, it is important to use flash to get photos that are crisp and clear. In this part of the day, we primarily use on camera flash – unless we have a specific shot in mind. Usually, we use available light, and just use flash to fill in dark shadows often stemming from the part of the room that is darker or poorly lit. It is also useful to use a diffuser attachment (such as a Gary Fong Lightsphere) and/or bounce flash off of white walls or ceilings when available.
Related: Wedding Photography 101 – How Do You Shoot Getting Ready Photos at a Hotel?
DETAIL SHOTS – PHOTOGRAPHY SETTINGS
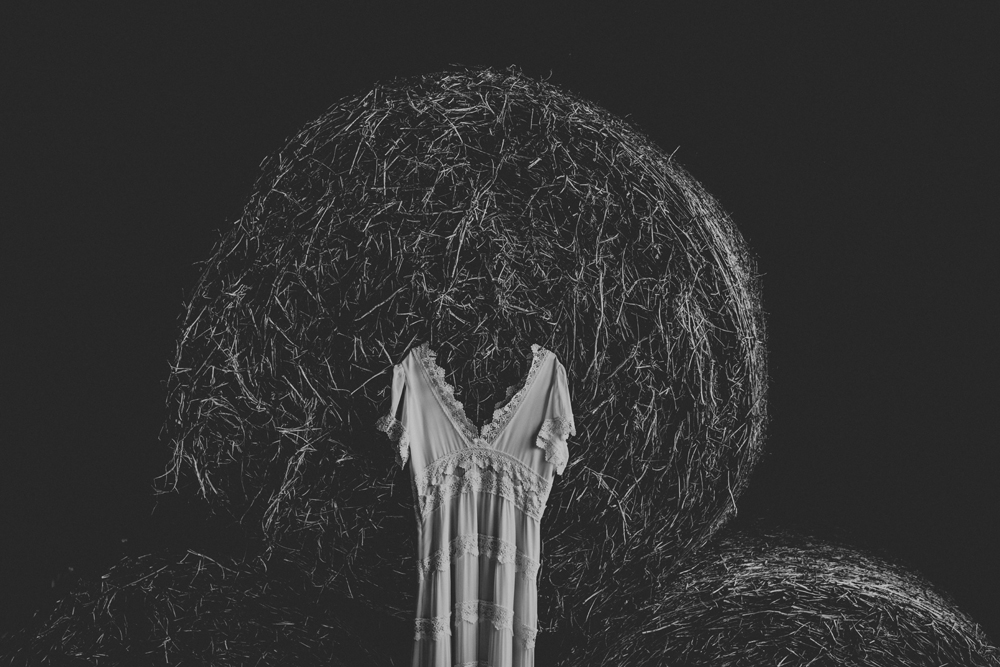
While not everyone’s favorite wedding day photos, detail shots throughout the day are essential to help tell the story of a wedding day. We often look back at our own wedding photography gallery, and highly appreciate the effort and time given to take good details. In the years to come, these will help to provide a more vivid memory of the wedding day for your couple and their families. As a part of our process, we emphasize in our pre-wedding day questionnaire to the couple to keep their most important personal details (such as rings, watches, jewelry, handkerchief, etc.) together in one area for our easy access to photograph. While we have previously photographed these most consistently with our Canon 50mm lens, we have recently added the Canon 100mm f/2.8 macro lens to our gear bag, and it has made a world of difference to get beautiful and high quality detail images of smaller items such as these. We highly recommend having a macro lens of your own going into this. Regardless of your lens, your general settings will follow the same line of thinking.
When shooting the details, we always bring them into the best available light we can, while also being discrete when necessary (particularly with the wedding dress) and mindful of the value of these items (both financial and sentimental). As such, we won’t take things outside if conditions are not suitable (bad weather or a lot of mud for some reason). In general, the two locations we do look for are outdoors when possible, and by a window to take advantage of the natural light.
ISO: 100 – 400
Aperture: f/2.8 – f/3.2
Shutter Speed: 200 – 300
With good light, you should be able to keep your ISO setting low to minimize unwanted grain. On a good camera body such as the Canon 5D Mark IV, if you need to bump your ISO upwards of 600 – 800, there is not usually a significant impact on the image quality. Still, when shooting outdoors in nicely lit areas or by a window, you should be able to get away with shots with a 100 – 400 ISO range.
For individual details, keeping a low f-stop so you are shooting wide open is often a great way to display a specific item and separate it from its environment. In some ways, we sort of view our details like this to be like paintings. We want one item to stand out, and many of the other items in the scene are effectively blurred out to help create an abstracted sensibility. With ring shots, we often are drawn to vibrant flowers due to the stark contrasts that can be found. If you are looking to get multiple items together in a scene, you may want to bring your f-stop up a bit to keep clarity of the image.
With your shutter speed, you should be able to maintain a lower speed if you want. If you need an extra stop or two of light without wanting to bump the ISO higher, this is a good way to achieve it. This is possible because your items are, generally, not going to be moving while you photograph them. Stationary subjects and a steady hand allow for lower shutter speeds.
CANDID PHOTOS – PHOTOGRAPHY SETTINGS
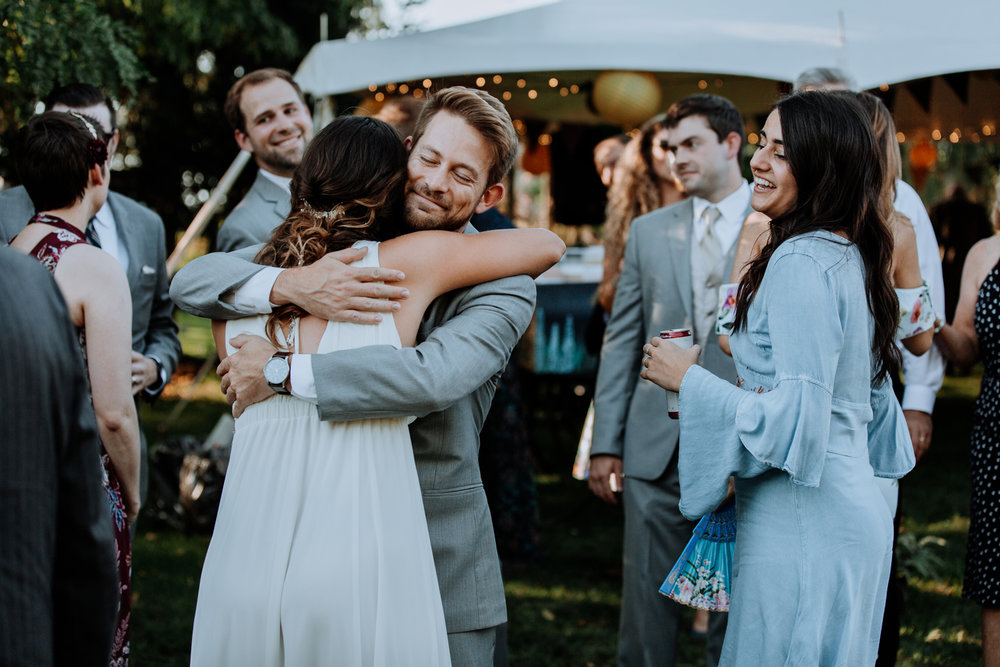
While there was a time in the wedding photography industry where the only photos being taken were during the ceremony and formal family and bride & groom portraits, the times have changed to really require a good ability to capture candid moments. As photographic storytellers, candid moments are the best because they are not staged. They are naturally occuring, and as a result you can get a lot of emotion that is difficult (if not impossible) to elicit through posing prompts. When people are having a happy good time and drunk off laughter and being together (and probably alcohol, too), candid photos help sell this aspect of the day. In the same way, having a quick capture of a moment shared between father and daughter that wasn’t expected, where real and raw emotion is shared between them, maybe even some tears – it is a moment few come by regularly. This is why it’s important, and learning how to adapt your settings quickly is a core component of this process.
ISO: 100 – 1600
Aperture: f/2.8 – f/4.0
Shutter Speed: 200 – 1000
As candid photos can occur anywhere, your ISO will be impacted heavily by this. In environments with good natural light, you will be able to use lower ISO settings. Alternatively, in poorly lit spaces, higher ISO’s will be needed. With the Canon 5D Mark IV body, we have found images can handle comfortably upwards of 1600 ISO before beginning virtually unusable due to grain. With flash photography, one way to increase the flash power is through increased ISO, so you may be able to make a dark space more filled with light at a lower ISO this way as well.
With aperture, candid moments are often much like unscheduled portraits. Going back to our earlier example, a father sharing a moment with his daughter is really just the story of two people together – a small family portrait if you will. But there is no posing involved. Usually, with something like this, both people will be in close proximity, so keeping a low aperture is fine and doable. The rest becomes an instinct of how you want the background to look. Lower f-stops will allow you to blur out the background (other people, random objects, etc.) and we usually go this route. But higher f-stops may also allow you to capture more detail in the frame – so maybe a mom’s response to seeing her husband and daughter together. These are just examples of things to look for, and how you might want to adapt your settings accordingly.
As with the ISO settings, your Shutter Speed will vary dependent on the level of movement in the scene. Candid moments in a small space typically won’t see a huge amount of movement, but candid dancing shots coming during the reception will require much higher speeds to freeze the movement.
FIRST LOOK – PHOTOGRAPHY SETTINGS
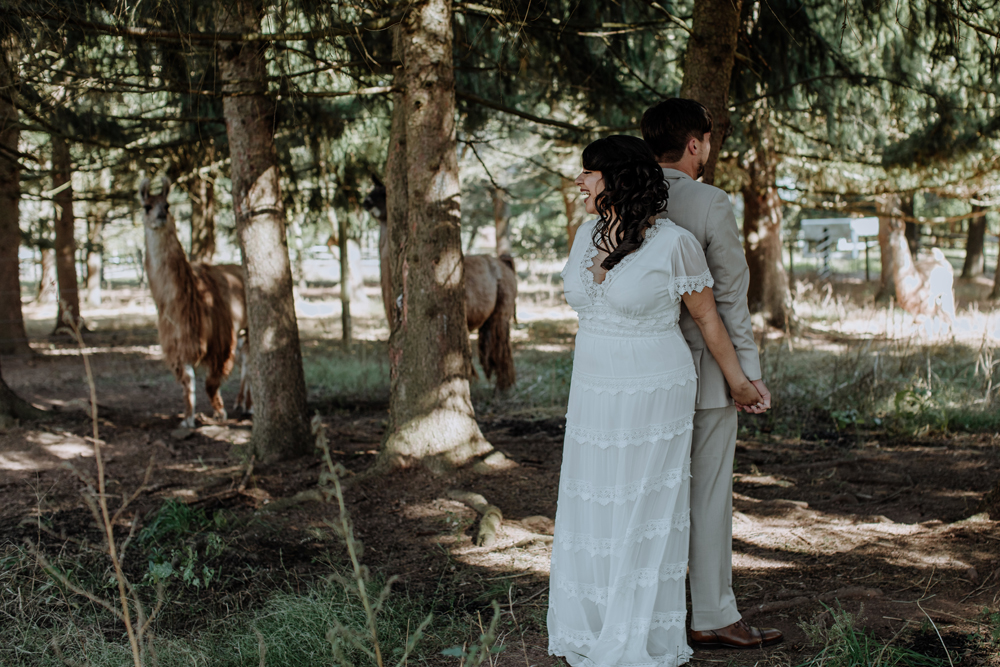
First looks are really unique because they can help set the tone for the rest of the wedding day, and emotions felt and shared between the bride and groom. While not every couple does a first look, we often suggest them to our couples because they provide flexibility to the wedding day photography schedule, and also give an opportunity to really connect on this hugely important day without a bunch of onlookers as you will have from the ceremony until the end of the night most of the time.
Your settings during this time will be influenced by how you approach shooting it. We’ll discuss more below…
ISO: 100 – 600
Aperture: f/2.8 – f/5.6
Shutter Speed: 400 – 800
As with everything, your ISO will be dictated by the available light. As you should have a significant say into where the first look takes place, you should be able to keep the ISO low when you select a well lit location.
The aperture you use will depend on the composition of your shot. There are two common approaches to “conventional” first looks. The first is where the bride and groom are parallel with each other in the frame. This means you will be seeing the side of their bodies as the groom walks towards his bride. The second framing option is where the photographer is positioned in front of the bride, and captures her and the groom behind her. With the first of these, a low aperture is absolutely doable as it can help separate the couple from the background. In the latter scenario, higher f-stops are better to keep the groom crisp in the frame, allowing for his initial emotions as he approaches the bride to be captured clearly.
As there is a lot of movement during many first looks, at least at the start, having a higher shutter speed to accommodate this movement is important. No one wants blurry images. Once the couple meets and embraces, and slows down, you may want to stop down your shutter a bit.
WEDDING CEREMONY – PHOTOGRAPHY SETTINGS
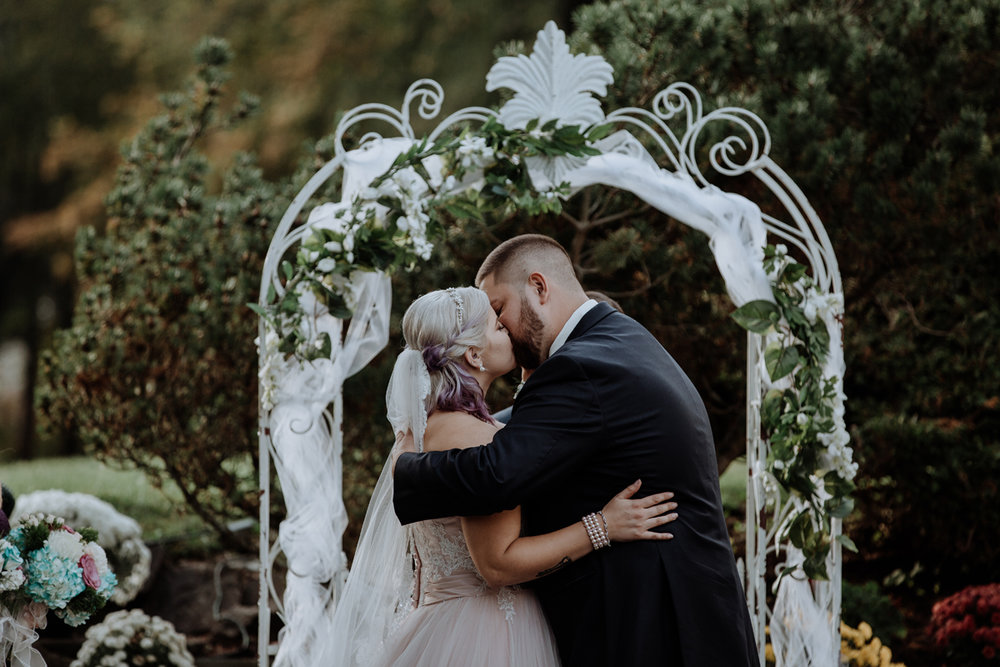
Most wedding ceremonies fall into just a few categories: outdoor locations that are naturally lit, church ceremonies that don’t allow flash photography, and other indoor locations such as those found at a wedding venue. Outdoor locations tend to be the easiest to deal with, as natural light is a photographers best friend. There can be challenges even here, such as a high noon wedding that results in harsh light or streaking light. With church ceremonies, particularly those that don’t allow flash, often it requires some level of making the couple aware of the scenario – and dealing with it on your Canon 5D Mark IV body as well as possible. Fortunately, if any camera is capable to shoot this sort of environment, it is this one – as it can take good low light photos without flash out of camera. Yes, it won’t be the same as interjecting a good light source into the scene, but it will be sufficient to the say the least, and an example why pro level gear is a must for wedding photography. Lastly, indoor environments that might allow flash photography or have better light sources, such as those used by venues as a location if it rains.
ISO: 100 – 1600
Aperture: f/2.8 – f/5.6
Shutter Speed: 200 – 800
The ISO you select will depend on the location and available light. In the brightest of outdoor wedding venues, we will shoot at ISO 100 or 125 with ease. In churches with poor window lighting and spotlights, it’s easy to end up shooting at 800+.
Your aperture choice will depend on the point in the ceremony. When the bride & groom are fairly separate from each other, such as when the bride is walking down the aisle with her dad, you may want to keep the aperture value higher to keep the groom clear in the frame as well as the backs of the bride and dad. Of course, there is room for artistic license here, as we sometimes drop our aperture intentionally to f/2.8 (or lower) to blur the bride and father, and let the groom (and his reaction) be the primary focus of the shot. When the bride & groom are together, keeping low apertures can be great to separate them from the background. If you want to keep the officiant in focus the shot as well (as he will usually be standing behind the bride and groom), shooting some of these shots at f/3.2 – f/4 should be sufficient.
Much like aperture, your shutter speed will be selected depending on the part of the ceremony. When the bridal party, parents, and bride walks down the aisle – these shots will require you to select higher shutters speeds of 600 – 800 (or greater) to keep everyone in focus without motion blur. Once everything slows down, you can easily drop your shutter to 200.
FAMILY FORMALS – PHOTOGRAPHY SETTINGS
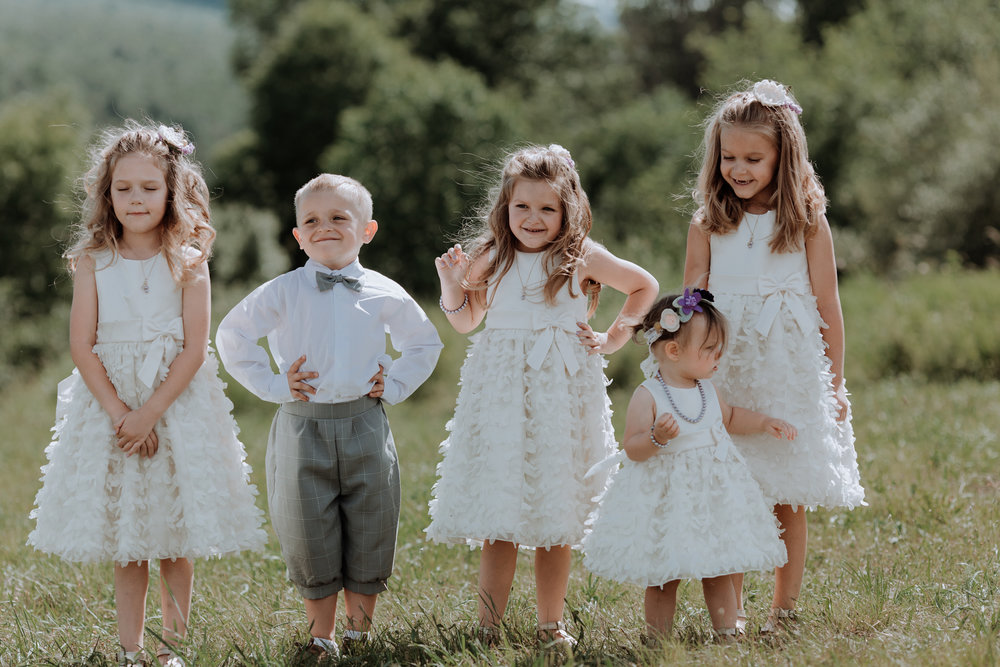
One of the most important parts of the day to get right are the family formals. When considering your settings and approach to this part of the wedding day, it is important to really consider how important these photos will be to your clients (more than likely…very). With that in mind, we approach family formals with the intent of making the couples and their families happy. This might mean less experimentation, but it’s in the name of just giving nice family portraits that can easily be turned into wall art or framed – not just by the couple, but my mom, dad, grandma, and grandpa. In the least, while your 90 year old grandfather might not fully understand or appreciate those candid dancing photos of you and your drunk uncle having a good time, he will be able to appreciate a simple and quality photo of his family and the newly married couple.
As we have seen in some other instances, the location this takes place is everything to help identify the appropriate settings. In general, we have them in two locations – either in the church at the altar, or at an outdoor location.
ISO: 100 – 800
Aperture: f/4
Shutter Speed: 200 – 400
The ISO selection is based on location. An outdoor location will usually allow more opportunity to keep this number low, while inside a church you will likely have to bump your ISO setting. In the latter scenario, especially, it is valuable to add a flash or two into the mix to help maintain the quality of your images.
For aperture settings, we most commonly will shoot at f/4 to help keep all of our family formal images consistent. When you have large family groupings of 5 or more, it is especially important to use a setting that allows everyone to stay in focus. While we love shooting wide open, family formals is not usually the best time for this unless you are wanting to snag a few quick images of people in pairs like this. If for some reason you’re shooting a huge family shot involving 3-4 rows of people, shift your f-stop even higher.
Finally, shutter speed will be kept relatively low as there shouldn’t be any crazy movement.
BRIDAL PARTY FORMALS – PHOTOGRAPHY SETTINGS
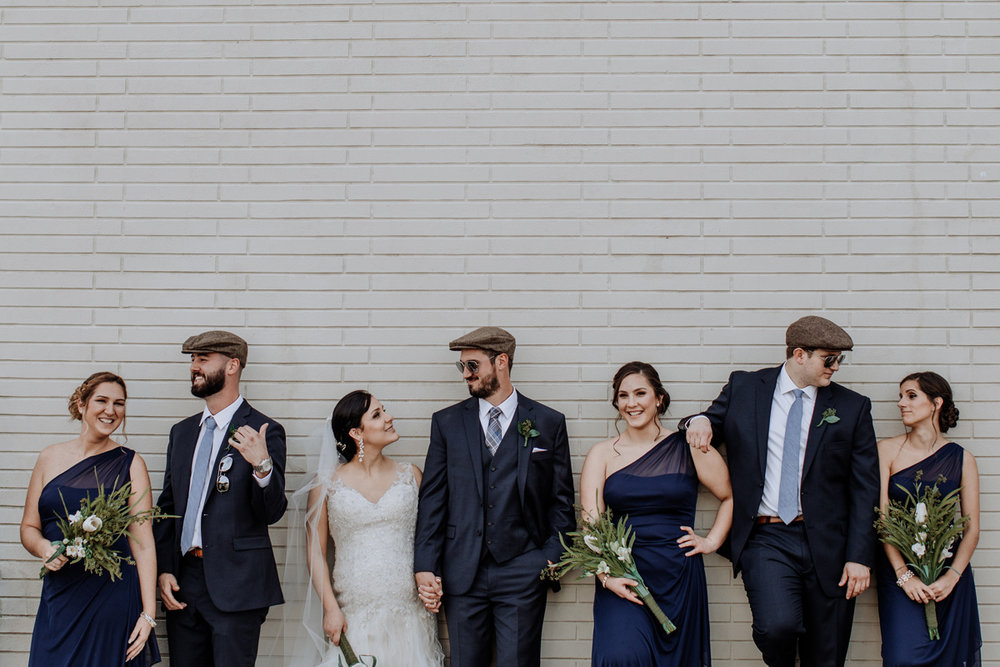
Shooting the bridal party can be a lot of fun, and in a lot of ways follows much of the same mindset as family formals do. However, the big difference is that often these images will be more fun and goofy at times, might involve more movement (like walk towards the camera and cheer shots), and so on. The changes to your Canon 5D Mark IV settings, then, will be fairly minor but very important.
ISO: 100 – 800
Aperture: f/2.8 – f/6
Shutter Speed: 200 – 800
For ISO, follow the same mentality as family formals. It depends solely on the location and light available.
For aperture, this is where things get a little different. While f/2.8 can be fine for one-on-one photos between the bride/groom and their individual party members, its when you get into those larger group shots that higher (f/4+) apertures will be useful to get everyone in focus. In some instances, like when you bring the bride and groom up a few steps to separate them from the group, shooting at even f/6 or greater can help you keep the bridal party in focus as well.
With shutter speed, usually these are really just portraits, but during moments with a lot of action and movement, up your shutter speed.
BRIDE & GROOM PORTRAITS – PHOTOGRAPHY SETTINGS
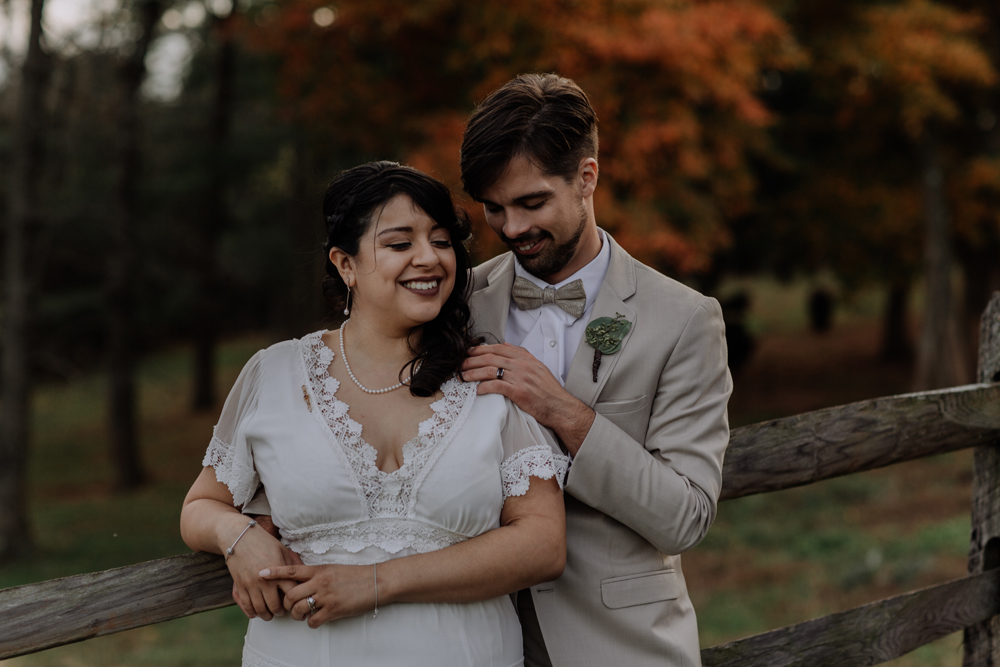
Probably every photographers favorite part of the day is shooting those intimate portraits for the bride & groom. These are the people that are the focus of the day, and you have likely built up a good amount of trust prior to the wedding with an engagement session, meetings, and working on the timeline together. So with this, we aim to get some photos that will be loved by the whole family, and some where we take more liberties to be more artsy in tune with many of the photos we showcase in our portfolio.
Given that we want these photos to be intoxicatingly beautiful, it is critical for us to select spots that have good light, and when possible, shoot in Golden Hour light for maximum drama. How you approach this within your style may be different, of course.
ISO: 100 – 400
Aperture: f/2.8 (or wider) – f/4
Shutter Speed: 200 – 800
The ISO selection is based on good lighting conditions. You should not need to bump this number too high most of the time.
As we like dreamy portraits, we prefer to shoot at low f-stops much of the time. f/2.8 is extremely common for us, with more experimentation being found as we drop down as low as f/1.2 (as is possible on some of our lenses). Recently, paying more attention to the need for clarity in the frame, when the couple is in poses that puts them into different planes of view, we will also up our aperture to f/4 when needed to maintain clarity.
A simple scale that you can think of when shooting romantic portraits with the bride & groom is this:
-
f/1.2 – really wide open, creates the softest looking photos and parts of the couple and frame outside of the focus point may be out of focus intentionally
-
f/2.8 – the standard beginning f-stop on most pro level lenses, wide open, creates a soft look and separation from the background, most of the things on the same plane of view will be in focus
-
f/4+ – narrow field of view, lets in less light, more the the couple in focus especially when on different viewing planes
Lastly, your shutter speed will be determined based on the movement and available light in the scene. Most portraits will not involve a lot of moving around, so lower shutter speeds will work fine in those scenarios. In the case of walking photos, this is when you will want to use higher shutter speeds.
RECEPTION PHOTOS – PHOTOGRAPHY SETTINGS
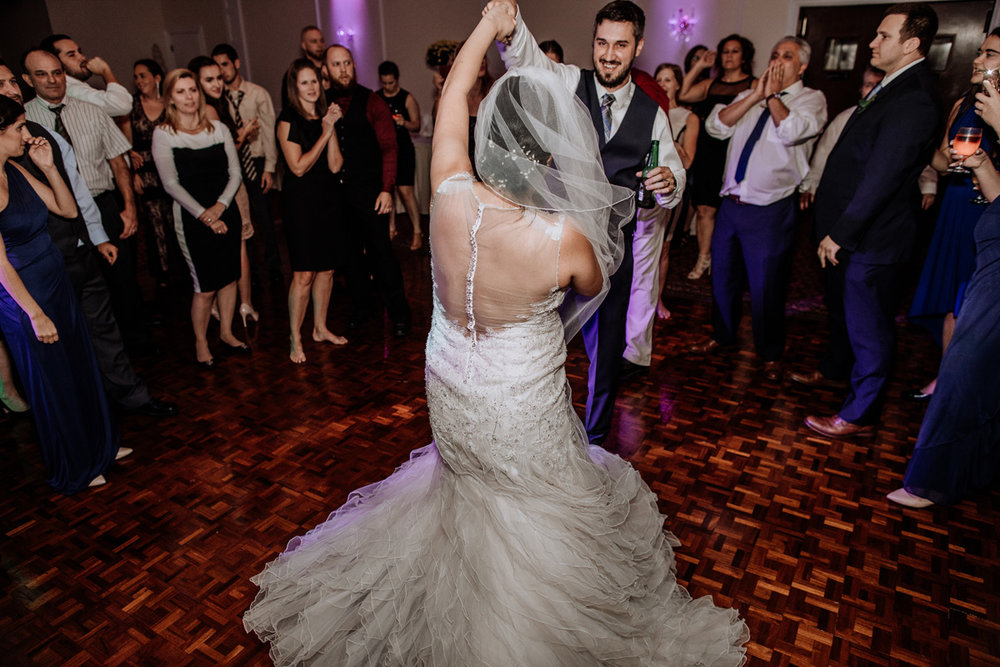
Ah…the reception. Often the funnest time of the wedding day to snag a bunch of photos of people having a good time, and sometimes the most stressful as you fumble to find the right settings to do just that. One of the challenges we face with receptions is how different areas may be lit in different ways. Take for example a barn reception – one side has the giant entry way with a lot of natural light, but just inside it gets really dark and is only lit by 15 watt orange string lights. Some of the reception might happen outside on the lawn too. As you wander from area to area, being able to adapt is critical. We will show you how.
ISO: 100 – 1000
Aperture: f/2.8 – f/4
Shutter Speed: 200 – 1200
For the ISO, you will be changing this setting constantly throughout the evening based on the lighting of the environment. Outside under nice skies? Use ISO 100. Indoors but closer to the entrance way or a window? Probably more like ISO 100 – 400. In a dark and shaded area of the barn? Bump your ISO as high as you need, probably 600+.
As you wander around grabbing candid moments, select your aperture based on your photographic intent…and be intentional in how you want to shoot. We often will sort of tail the bride and/or groom around as they say hello to family and friends. A wide open aperture often lends a softness to the image, so this is ideal when shooting those more intimate moments. Higher f-stops will be great for “party pics” where a lot of people are in a single space (like the dance floor), and you want to capture them all at once. The key in all this is experimentation to find what you like. Fortunately, receptions tend to be multiple hour events, and especially with dancing…photos can get redundant after 30 minutes or an hour. Use the extra time to experiment and try different apertures.
Your shutter speed, like always, will depend on the movement in the frame. For dancing photos, we shoot at 800+ often to “freeze” the motion. It allows the fast paced action to be clearly captured. Those intimate, almost portrait-like candids you capture, won’t require such high shutter speeds. Of course, with all this said, there are exceptions to the rule where you can be intentional about what you are doing. Want to experiment with some light dragging photos, which is a cool way to add some flare to your dancing images? The way to do this is to lower your shutter speed below 100. With a tripod, you could even through on your camera’s bulb mode and have as long or short of a shutter speed time as you want.
GRAND EXIT – PHOTOGRAPHY SETTINGS
Finally, you made it to the end of your wedding day photo service. Hopefully you can tell by now that the Canon 5D Mark IV is a great camera, and gives you a lot of flexibility to get the shots you need for your clients. Being able to have quality images even when you need to bump your ISO pretty high is essential, and is one of the defining things that makes professional gear, well, professional.
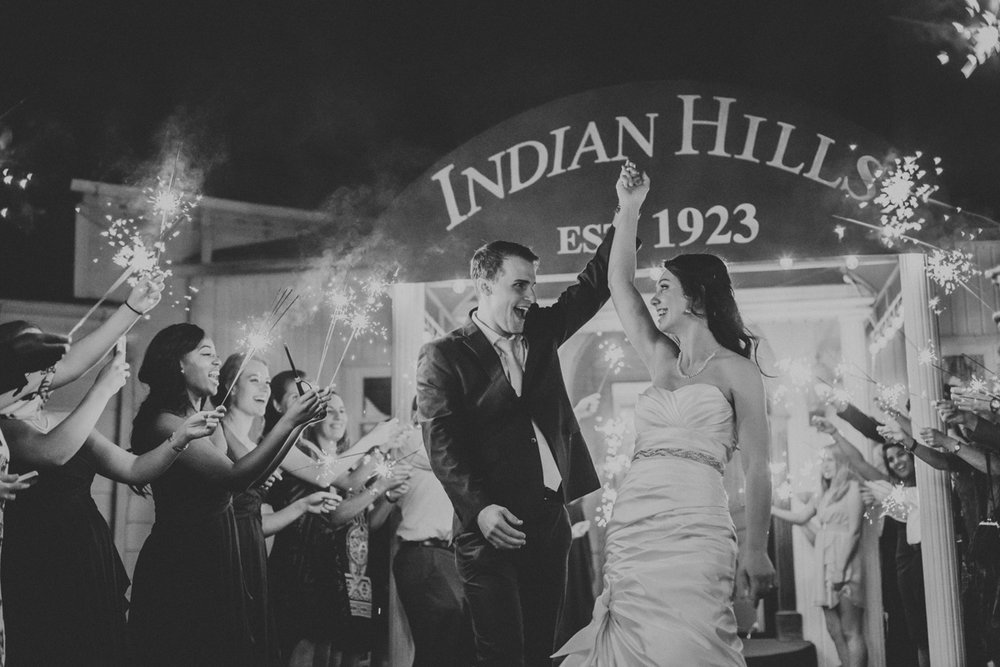
Grand exits can come in many forms, but most commonly people will do sparkler exits. These are a lot of fun, but can be difficult to capture if it’s your first time shooting. Taking place outside in the dark, but under the ambient light of the venue (usually), the sparklers themselves begin to cast a lot of different light sources into the frame as well. With a lot of flickering and color casts hitting the bride & groom, having the right settings is essential.
ISO: 600 – 2000
Aperture: f/2.8 – f/4
Shutter Speed: 200 – 800
Due to the night skies and, likely not great, ambient lighting – you will need to use a higher ISO.
For your aperture, follow the same rules that come along with all the different types of portraits we discussed. If you want the focus strictly on the bride & groom, use a lower f-stop. If you want to get shots with the group surrounding them more in focus, likely with the assistance of a wide angle lens like the Canon 24mm, use a higher f-stop.
Your shutter speed choice will be an interesting one, and something you should definitely experiment with quickly in the moment. There will be a lot of moving pieces, and in particular, because sparklers have a flickering effect, it will be valuable to freeze this motion by using a higher shutter speed. With the already high ISO, it can sometimes be challenging to get the shutter speed high enough. This leads us to the next consideration…
Set up an off camera flash. Some photographers will stay away from this for artistic reasons (which is okay), and others will stay away due to technical limitations. We fall into the first camp, but won’t ignore the possible added value a flash set up could add in these situations. In particular, a good quality flash like the Profoto B1 will allow you to leverage high speed sync options so you can raise the shutter speed and still fire the flash. With the flash at a low power, you should be able to compliment the multiple light sources already in the frame.
finding the right canon 5d mark iv wedding settings is easy
Wedding photography can be challenging because of how frequently things change. You can master shooting at one venue, yet be lost when you arrive at another one the following week. Knowing how to dial in the right settings on your Canon 5D Mark IV will significantly help you, and we hope our detailed article on just that will benefit you by giving you some common setting ranges for our wedding photography.
After doing wedding photography for 2 years now, we have been exposed over and over again to what settings we constantly are putting our cameras in at different stages of the day. While, sure, there are always going to be variables – having some baseline figures makes it 100 times easier. Eventually, changing your settings will become second nature, and you can shift your focus more intently on composition.
If you are just considering purchasing a Canon 5D Mark IV, please check out our review!
Want support growing a photography business?
Shoot and Thrive’s Photography Business Academy is a significant resource that we had a role in creating (along with some other photographers) and includes a comprehensive course library, VIP community, and additional levels of support from our team to help you create the business of your dreams – whether you’re a complete beginner or experienced and needing help growing.
In The Photography Business Academy, you will learn in great detail all aspects of business including branding, marketing, sales, client experience, systematization of it all – and be provided with resources (the full academy includes over 200+ worksheets, email templates, and other supporting resources to make your life easier). The end goal is to not just provide you information, but tools to actually transform your business (and your life).
